Building our own SIPs house. Part 07
October 21, 2002.
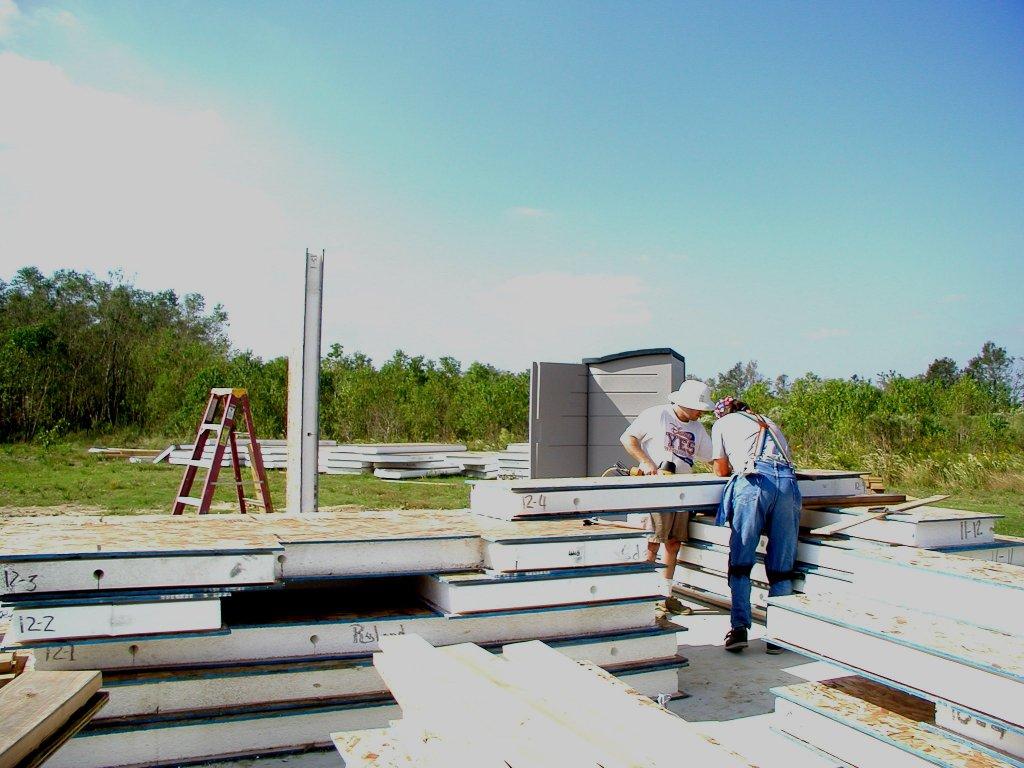
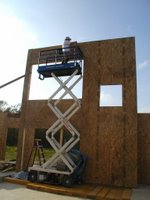
East wall going up.
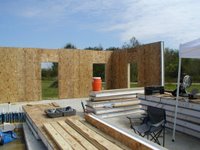 Oh this wall was a pain. Our house has a 3'x3' column on each side of the entry door. This is where we really have problems with the foundation not being level. The foundation crew framed the front columns about 2" high on one corner and a 2" toe in on the other column. The toe in we decided to face out with the bricks. But the high side has a problem. If you simply place the panel on the sill plate, it will tilt and you can not square it up. Solution: We put the panel in place, (tilted) and then used a laser level to scribe a line along the top edge of the panel. We then transferred the line
  to the bottom and trimmed the panel.
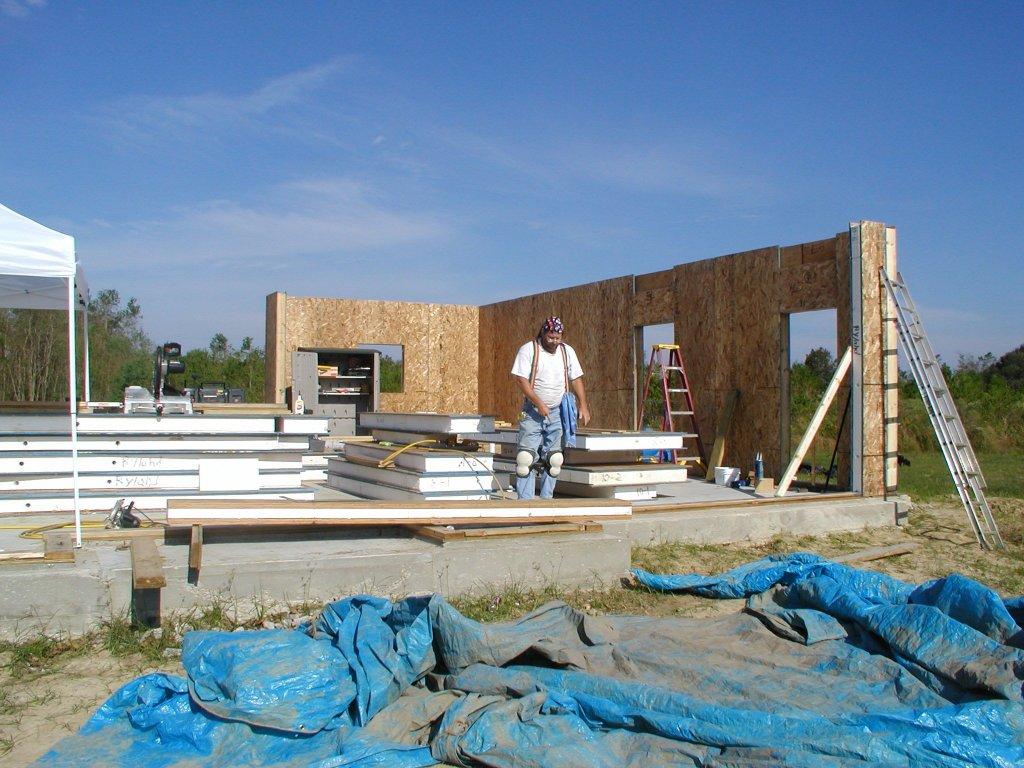
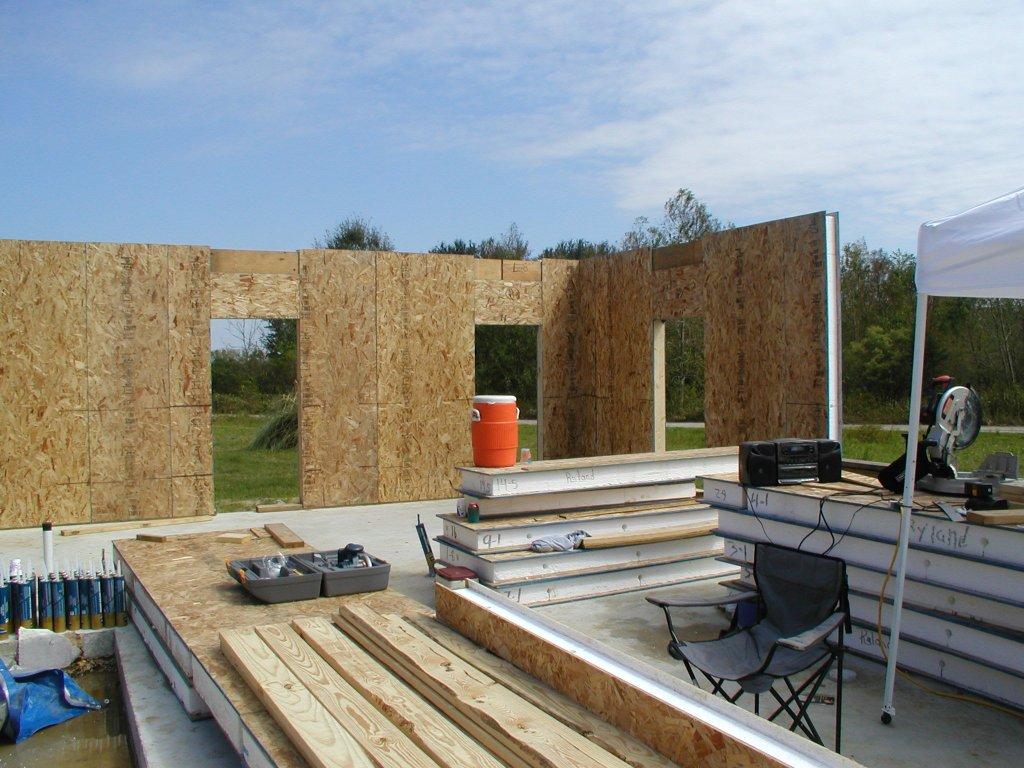
South Wall.
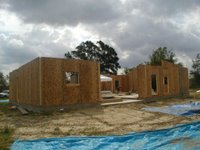
This wall has some of our tallest panels. Those center ridge panels are about 17' tall. Also at the ridge there are three 2x6's joined together to support the ridge beam. This was very tough to erect. A telescopic forklift should would have been nice for this.
On the south wall you can notice some of the cutouts for the laundry room plumbing. After the finish plumbing, these openings will be filled in with spray foam.
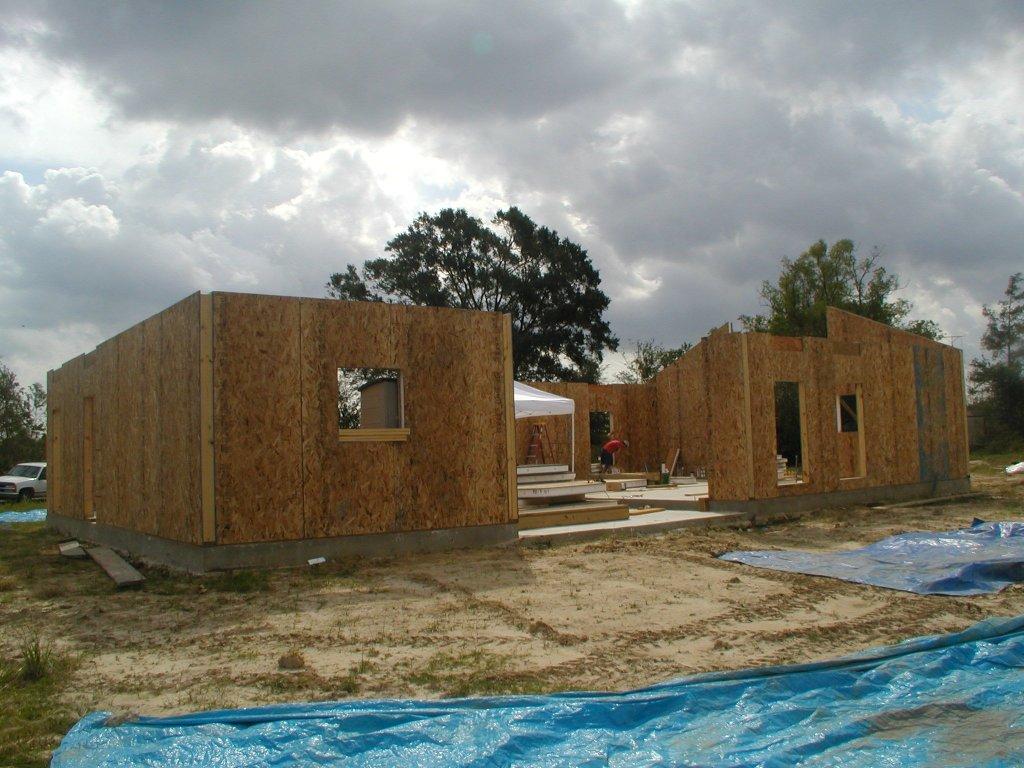
West Wall.
Almost finished with the SIPs shell on the first floor. That atrium wall is 20' high. We had to use the tractor to stand that wall up. The sunken floor in the atrium made it tough. Had to rig a level floor for the scissor lift. Once again, the rental of a telescoping fork lift would have simplified this job considerably.
East wall going up.
 Oh this wall was a pain. Our house has a 3'x3' column on each side of the entry door. This is where we really have problems with the foundation not being level. The foundation crew framed the front columns about 2" high on one corner and a 2" toe in on the other column. The toe in we decided to face out with the bricks. But the high side has a problem. If you simply place the panel on the sill plate, it will tilt and you can not square it up. Solution: We put the panel in place, (tilted) and then used a laser level to scribe a line along the top edge of the panel. We then transferred the line
  to the bottom and trimmed the panel.
South Wall.
This wall has some of our tallest panels. Those center ridge panels are about 17' tall. Also at the ridge there are three 2x6's joined together to support the ridge beam. This was very tough to erect. A telescopic forklift should would have been nice for this.
On the south wall you can notice some of the cutouts for the laundry room plumbing. After the finish plumbing, these openings will be filled in with spray foam.
West Wall.

Almost finished with the SIPs shell on the first floor. That atrium wall is 20' high. We had to use the tractor to stand that wall up. The sunken floor in the atrium made it tough. Had to rig a level floor for the scissor lift. Once again, the rental of a telescoping fork lift would have simplified this job considerably.
posted by P. Ry at
9:22 AM
0 Comments
![]()